
May 19, 2026
Add your Storefront Categories
PRO Plan users can organize products into categories to create a cleaner and easier-to-browse storefront.

Categories help group similar products together so shoppers can quickly find what they’re looking for.
Step 1: Open Categories settings
Go to:
- Profile Settings
- then open Appearance & organization
- scroll to the Categories section
Step 2: Create a new category
Enter a category name and click Add category.
Example categories:
- Gadgets
- Skincare
- Kitchen Finds
- Gaming
- Fashion
Choose category names that are short and easy to understand.
Step 3: Choose an optional category icon
You can optionally select an icon to display beside your category name.
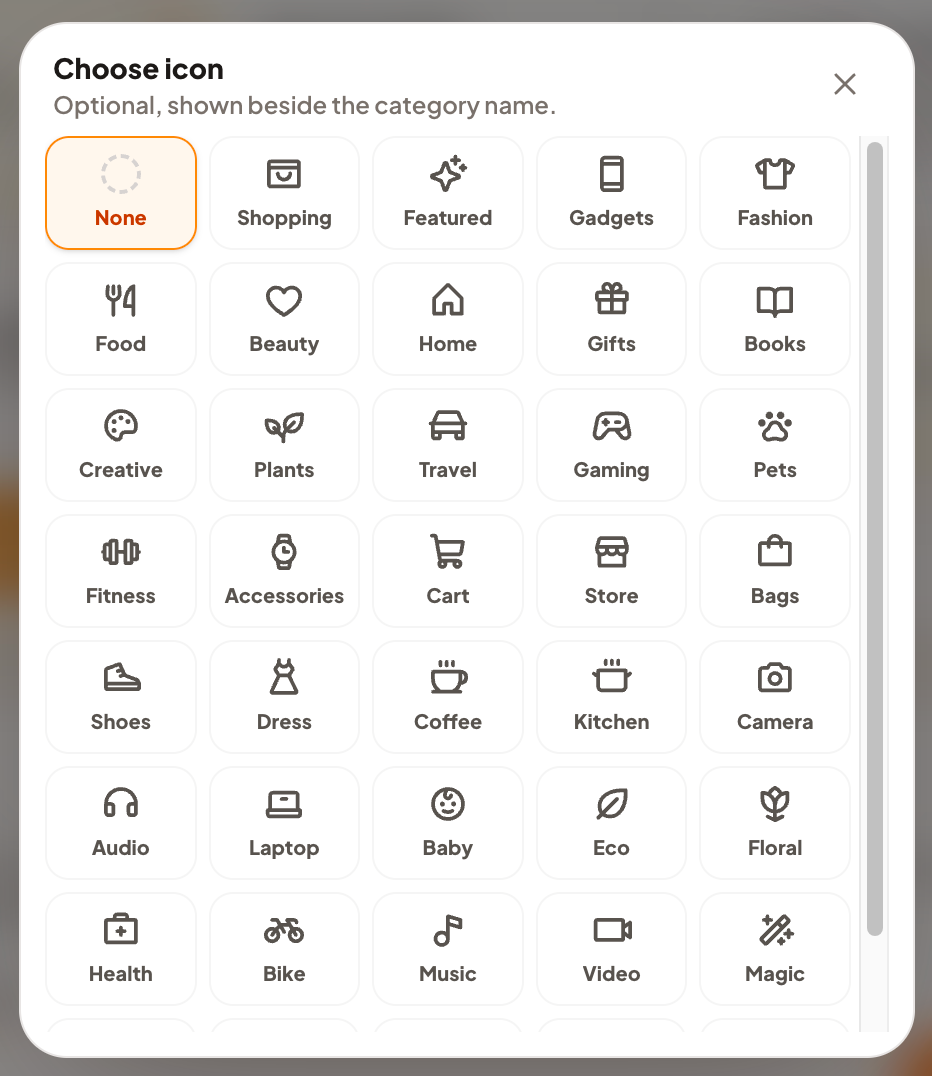
Icons help shoppers quickly recognize sections on your storefront.
Icons are optional and can be changed later anytime.
Step 4: Assign products to categories
After creating a category, you can assign products directly from the category manager or inside the product editor.
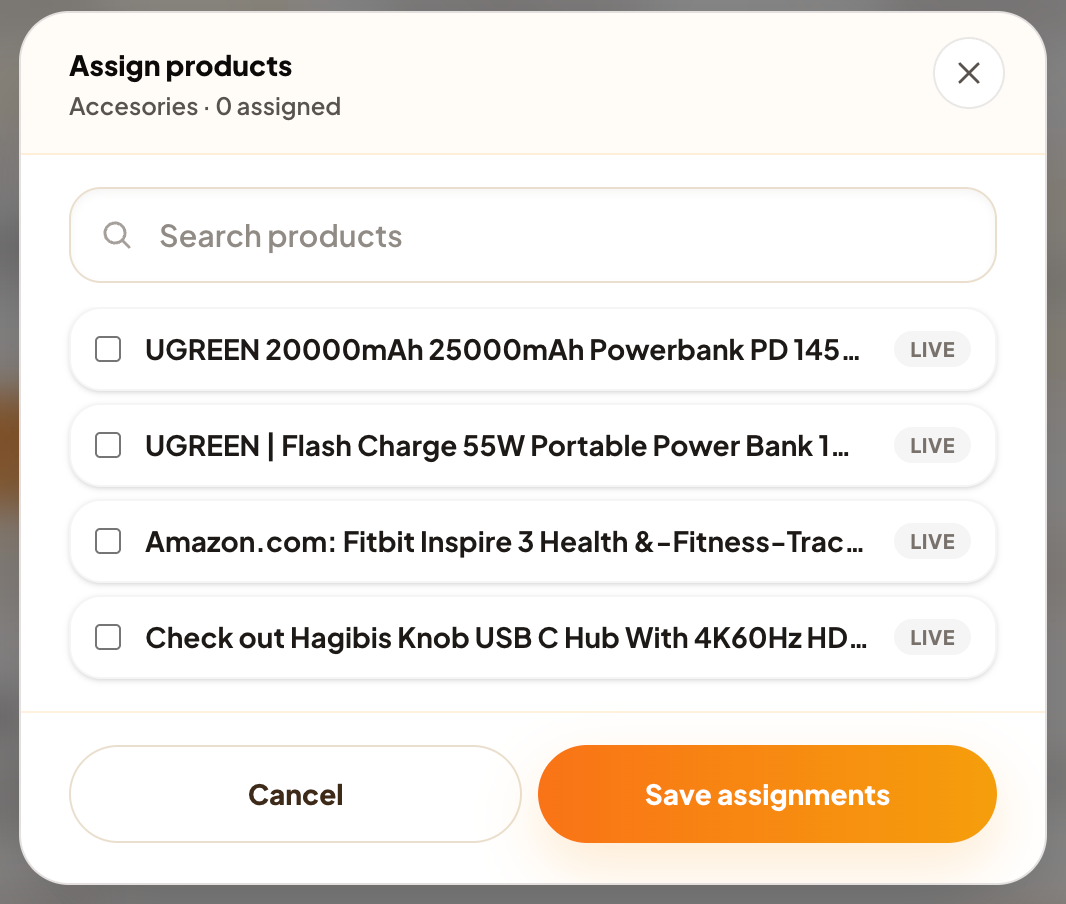
The category assignment popup allows you to:
- search products
- select multiple products
- assign products in bulk
- quickly organize live products
You can also edit a product anytime and change its assigned category later.
Step 5: Reorder categories
Use the move controls to change the order categories appear on your storefront.
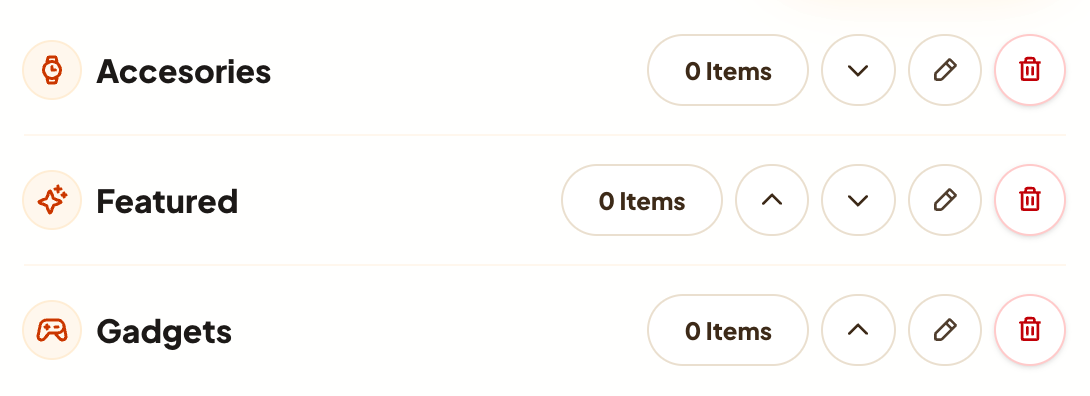
This helps prioritize:
- featured collections
- seasonal products
- best-performing categories
Step 6: Edit or delete categories
You can:
- rename categories
- change icons
- reorder sections
- remove categories anytime
Deleting a category does not delete your products.
Step 7: Understand category visibility
Only categories containing published public products appear on your public storefront.
Empty categories remain hidden automatically.
Private products do not make categories visible publicly.
Step 8: Save your storefront organization
Your category changes apply automatically after updating your storefront settings and products.